CNC 3018 unpacking installing and full review

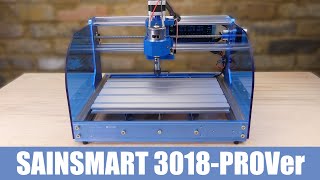
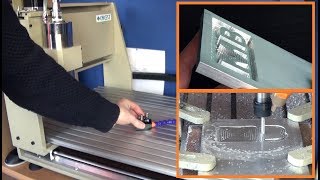
This video is about the 3 axis CNC 3018 mini router. It’s a small scale desktop router with a working area of approximately 300 x 180 x 40 mm. The 3018 router can be purchased for under $200, making it very affordable for the hobbiest that wants to start with CNC milling.
Affiliate links to products from the video:
CNC 3018 router kit: http://bit.ly/2Ijrldd'>http://bit.ly/2Ijrldd
Collet chuck/springs set: http://bit.ly/2PQg204'>http://bit.ly/2PQg204
End mill for aluminium: http://bit.ly/3cwWac8'>http://bit.ly/3cwWac8
End mill set 1#: http://bit.ly/39sPw4J'>http://bit.ly/39sPw4J
End mill set 2#: http://bit.ly/39sO5TN'>http://bit.ly/39sO5TN
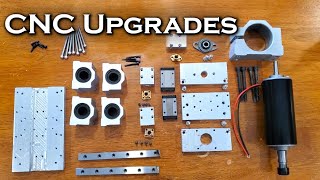
One of the reasons that the CNC 3018 router is so affordable is because it is shipped as a DIY kit. For people like me that are into building things the assembly of the machine is quite fun. If I had to assemble the machine again, with the help of this video, it would take about an hour. My kit didn’t have any tools with it. A couple of crosshead screwdrivers are needed for this build.
Once you have the machine installed you are ready to power it on. A tip that I didn’t include in this video is to use the power supply in the following way: First plug the power supply in the PCB on your CNC 3018 router before you plug in in the power outlet. Doing this in the opposite way often creates some sparks near your PCB. In my opinion it’s better to have some sparks near your power outlet than next to a PCB with sensitive electronics.
With most cheap chinese products the manual is often not that detailed. The manual that came with the CNC 3018 router kit was no different. For this reason I tried to make the video as detailed as possible with a lot of tricks that make the job a whole lot easier. use the timestamps below to help you navigate through this video.
00:00 intro
00:35 unpacking
01:45 how to use the Tnuts
02:55 overview all fastening materials
03:11 frame 1 / bottom part machine
11:45 frame 2 / upper part machine
15:09 installing PCB
16:51 connecting the wires
18:20 software overview
18:45 first engraving
22:02 fixing wrong travel direction axes
23:27 engraving acrylic
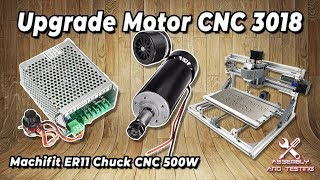
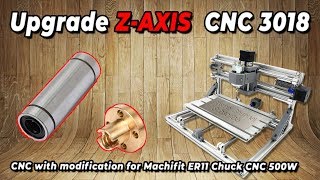
24:14 installing upgrade collet chuck
25:43 accuracy test cut in MDF board
27:05 milling a rocket shape in MDF board
27:36 milling a motorcycle shape in MDF board
28:21 cutting out a leaver from MDF board
30:06 milling a rocket shape in multiplex board
31:03 milling aluminium
33:42 conclusion
34:04 should you buy this machine?
35:15 outro
Support the channel: http://paypal.me/mbcreates
Affiliate links to products from the video:
CNC 3018 router kit: http://bit.ly/2Ijrldd'>http://bit.ly/2Ijrldd
Collet chuck/springs set: http://bit.ly/2PQg204'>http://bit.ly/2PQg204
End mill for aluminium: http://bit.ly/3cwWac8'>http://bit.ly/3cwWac8
End mill set 1#: http://bit.ly/39sPw4J'>http://bit.ly/39sPw4J
End mill set 2#: http://bit.ly/39sO5TN'>http://bit.ly/39sO5TN
32:28 note: The WOC should be 2 mm and not lowered by 2 mm.