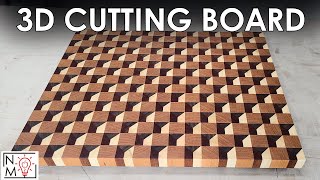
DIY End-Grain Diamond Cutting Board: Step-by-Step Guide

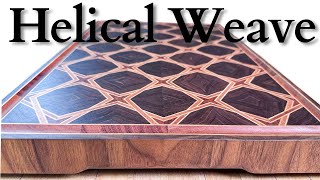
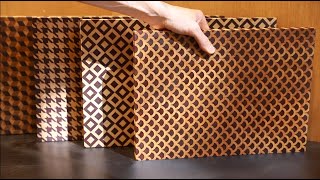
Welcome to my woodworking channel! In today's video, I will guide you through the stepbystep process of crafting a stunning handmade cutting board featuring beautiful diamond inlays in the middle.
Project Steps:
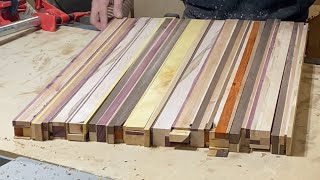
Cutting and Jointing Wood: I start by preparing the raw material, cutting, and jointing the wood pieces.
Creating the Core: Cutting the materials to the desired dimensions, gluing up the diamond elements, jointing and cutting the diamond elements, and then gluing them up again to form the core.
Final Assembly: Cutting the core to the desired thickness, creating the inner and outer frames, and gluing everything together.
Finishing Touches: Sanding and oiling the board to enhance its appearance and protect the wood.
Chapters:
00:00 Cutting and Jointing Wood from Raw Material: Preparing the hardwood pieces by cutting and jointing them for the project.
01:17 02:39 Creating the Core: Cutting the Materials to Desired Dimensions: Precisely cutting the wood to form the base of the cutting board.
02:39 03:35 Creating the Core: Gluing Up the Diamond Elements: Assembling the diamond inlays with wood glue.
03:35 05:35 Creating the Core: Jointing and Cutting the Diamond Elements: Jointing the glued pieces and cutting the diamond elements to size.
05:35 06:09 Creating the Core: First Gluing of Diamond Elements: The initial gluing process for the diamond inlays.
06:09 06:31 Creating the Core: Cutting to Desired Thickness of the Cutting Board: Trimming the gluedup core to the final thickness.
06:31 07:20 Creating the Core: Second Gluing of Diamond Elements: The second gluing process to secure the inlays.
07:20 08:47 Creating the Inner Frame: Constructing the inner frame of the cutting board.
08:47 08:57 Creating the Outer Frame: Adding the outer frame to complete the structure.
08:57 09:54 Gluing Up the Core with the Inner and Outer Frame: Combining the core with the inner and outer frames.
09:54 10:33 Sanding and Oiling the Board: Smoothing the surface and applying a foodsafe finish.
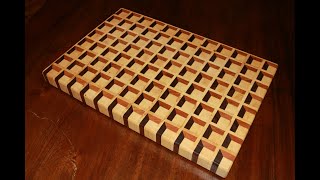
10:33 Presenting the Finished Board: A final reveal of the beautifully crafted cutting board.
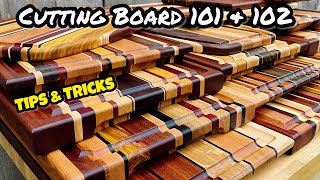
Additional Tips:
Ensure all measurements are precise for a perfect fit.
Use clamps to keep the wood pieces tightly bound during the gluing process.
Sand the board thoroughly for a smooth, professional finish.
Join me in the workshop for this exciting project, and don't forget to like, comment, and subscribe for more woodworking projects!
#crafts #wood #cuttingboards #woodworking #diy #woodworkings #cuttingboards
Shop:
https://www.etsy.com/shop/stammherz/
https://www.ebay.de/usr/stammherz
Social Media:
/ stammherz
/ stammherz