DIY Swiftie Friendship Bracelet - Quick Start Tutorial - Pro Tips

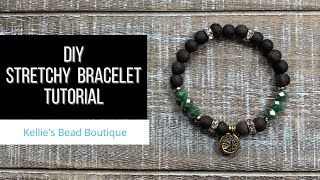
A DIY tutorial on how to make stretch bracelets. Runs for under 2 minutes and will get you up and running making these fun bracelets.
1. Cut 22cm of elastic cord.
2. Prestretch your elastic cord to help loosen it up. This ensure that your bracelet will stay the same size and won't stretch and distort. Stretch a small section of elastic at a time. The elastic will stretch to 2426cm length.
3. Secure one of end with a small clip. You can also use tape but the clip allows your more creative freedom as you can work on the design from both sides.
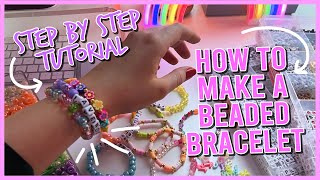
4. String your beads. The length will depend on the size of your wrist.
Use the following dimensions as a guide
Children 15 16cm
Small 16 17cm
Medium 17 18cm,
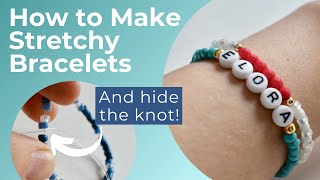
5. Finish by threading a bead with a large hole to hide the knot.
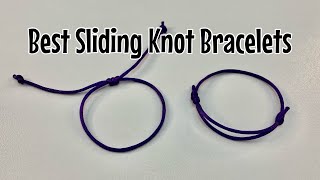
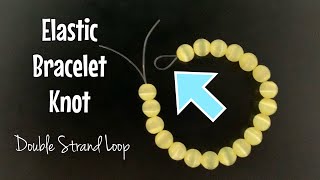
6. Knot the thread. First use normal knot then follow by a surgeon knot (loop the thread twice before tightening).
7. Secure the knot by applying glue or clear nail polish. When dry work the knot under the bead and trim.
TIP Always roll the bracelet onto your wrist rather than stretching
Supplies and starter kit available https://beadsonline.com.au


![5 SIMPLE BRACELETS FOR BEGINNERS [CC] || Friendship Bracelets](https://i.ytimg.com/vi/RSmGMCpKJwY/mqdefault.jpg)