Fix Holes in Photogrammetry With Blender: How To Repair Bad Photo-Scans

A Blender Photogrammetry tutorial! I'll show you how to fix holes and repair bad meshes in photoscanned models in this video.
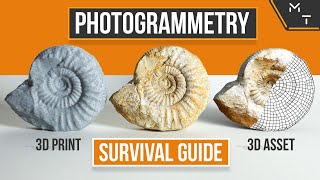
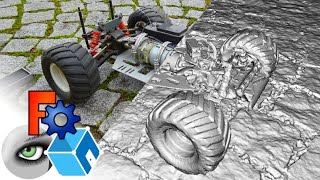
Photogrammetry is used to produce 3D models from images, but occasionally the finished product may have holes or other errors that need to be repaired. In this tutorial, we'll use Blender, a wellknown 3D modelling programme, to fix these issues and produce a topnotch 3D model from a photoscan.
Now, we'll import our photoscan model into Blender and check for any holes or broken meshes. The model will then be repaired and a clear, smooth surface will be produced using a variety of methods and tools, including filling, the knife tool, sculpting brushes and much more.
Join us for this Blender Photogrammetry tutorial to discover how to fix holes and defective meshes in your 3D models if you want to enhance the quality of your photoscanned models. To get more tutorials on Blender and other 3D modelling applications, don't forget to subscribe to our channel.
If you would like to support me on this channel, then please consider buying the model from this tutorial: https://www.cgtrader.com/3dmodels/ex...
CONTENT OF THIS VIDEO TUTORIAL
0:00 Intro
0:24 Importing PhotoScan (Meshroom)
0:55 Rotating Model
2:05 Examining Model
2:24 Cleaning up Photogrammetry Model
4:54 Exporting Model to Instant Meshes
8:14 Reimport Instant Mesh model into Blender
9:50 Remove & Clean LowPoly Mesh
12:02 Repairing Holes in Mesh
15:55 Unwrap LowPoly Model
21:34 Adding a Shader
22:06 Baking the Textures
24:36 Connecting the Baked Textures
26:16 Improve Repairs With Sculpting
28:48 Repairing Holes in Textures
32:13 Smoothing the Edges
35:53 Setting the Origin Point