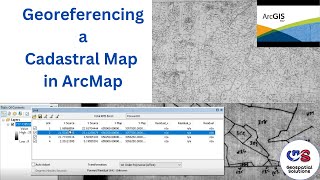
Georeferencing and Digitization in ArcMap || Hindi Urdu ||

Georeferencing and Digitization in ArcMap
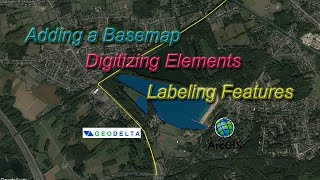
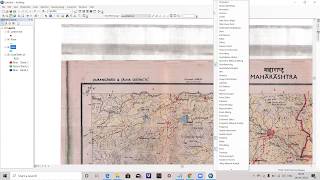
Georeferencing and digitization are important processes in GIS that allow you to convert paper maps or other nonspatial data into digital format. Here are the steps for georeferencing and digitization in ArcMap:
Georeferencing:
Add the raster file (e.g. scanned map) to ArcMap.
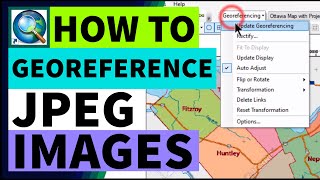
Open the Georeferencing toolbar by clicking on View Toolbars Georeferencing.
Load in a reference dataset, such as a georeferenced image or a shapefile.
Add control points by clicking on the Add Control Points tool and clicking on corresponding locations in both the raster and reference dataset.
After adding several control points, click on the Rectify button to apply the transformation to the raster image.
Save the georeferenced image as a new raster file.
Digitization:
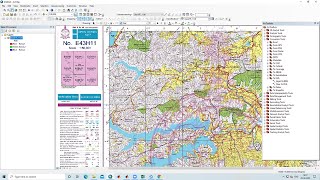
Add the newly georeferenced raster file to ArcMap.
Create a new shapefile by rightclicking on the Layers window and selecting New Shapefile.
Choose the appropriate geometry type (e.g. point, line, polygon) and coordinate system.
Select the Editor toolbar by clicking on Editor Editor Toolbar.
Click on the Start Editing button and select the newly created shapefile as the target.
Choose the appropriate digitizing tool (e.g. point, line, polygon) and begin digitizing by clicking on the map to create vertices.
Save the edits by clicking on Editor Save Edits.
Note that georeferencing and digitization can be timeconsuming processes, and accuracy is crucial. Make sure to doublecheck your work and use appropriate reference data to ensure accurate results.