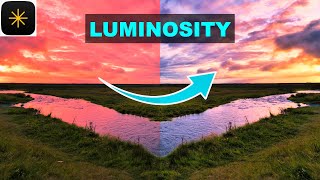
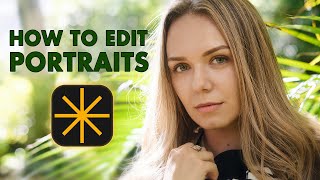
Get Ultimate Control With Luminosity Masks in Luminar Neo v1.19
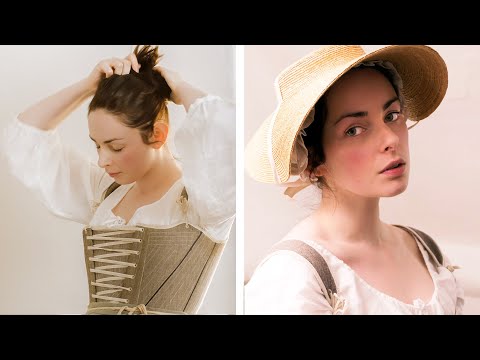
Luminosity Masks are a brilliant new addition to Luminar Neo in Update 1.19. In this tutorial, I'll demonstrate how to use luminosity masks to make precise selections and control aspects of your portrait edit. You can get Luminar Neo discounted here: https://bit.ly/LuminarNEO'>https://bit.ly/LuminarNEO Using code ATNEO10
You can find my architectural photography channel here: https://bit.ly/ATArchitecture where I share lots of free tutorials.
Shout me a coffee by joining my channel supporters here: https://bit.ly/ChannelMembers
Best Enthusiast Photo editing Program: https://bit.ly/LuminarNEO'>https://bit.ly/LuminarNEO
♀Get Lightroom and Photoshop here: https://bit.ly/CCadobe
Lightroom Alternative without subscription!: https://bit.ly/dxoediting
The best AI sharpening, denoise, and upscaling: https://bit.ly/TopazPhotoAI
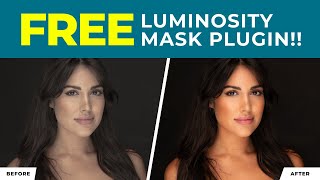
Luminosity masking panel for Photoshop: https://bit.ly/3dpGeub
Highend finishing and effects https://bit.ly/nikcollectiondxo
⛅ Best Sky replacement pack: https://bit.ly/2Ruj8KPSkies
✏ Wacom Tablet https://amzn.to/3SXfVhd
✏ Huion Tablet https://bit.ly/BestGraphicsTablet
My favourite colouraccurate monitor: https://amzn.to/3UbFgVm
Music when featured is from https://bit.ly/ATHookSounds
These are affiliate links to the equipment I use they are not sponsored by the manufacturer in any way. If you use these links it costs you no more than normal, but I may get a small commission which helps me to keep providing free content for you and my viewers. Thank you for supporting the channel and free education. I really appreciate it.