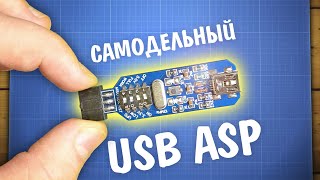
Homemade module for programming microcontrollers ATtiny

We assemble a module for programming microcontrollers with 8 legs of the ATtiny family in a DIP package (ATtiny13, ATtiny25, ATtiny45, ATtiny85) with our own hands. In this case, the Arduino UNO acts as a programmer, and our board will be placed on top of the Arduino. Using the resulting programmer for
ATtiny13, ATtiny25, ATtiny45, ATtiny85 greatly simplifies their firmware and loading sketches from the Arduino IDE.
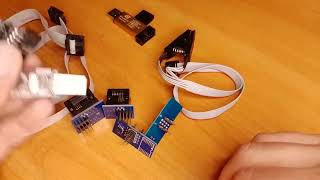
To create a module, we need:
1. Doublesided mounting plate 3x7 cm.
2. 8pin female socket for ATtiny.
3. Comb of contacts.
4. Two 4pin single row sockets.
5. A 10μF capacitor.
6. Wires.
7. USB connector.
In this video, we will place all the necessary components on the circuit board and solder them to the board. After that, connect the assembled module to the Arduino UNO, flash the ATtiny13 microcontroller and load the standard Blink sketch into it (blinking LED).
Module diagram for programming ATtiny13 / 25/45/85 microcontrollers https://drive.google.com/file/d/1hCcq...
0:00 Module for programming ATtiny microcontrollers.
0:42 Components for creating a module.
2:05 Place the components on the board and solder them.
9:04 am Checking the created module on the breadboard.
10:54 Add an LED to the ATtiny13 module, and connect it to the Arduino UNO.
11:40 Upload the Blink sketch to ATtiny13 through the module we created.
12:13 Power the module we created via USB.