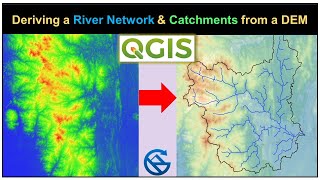
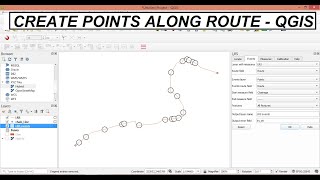
How to Extract Vertices from Lines using QGIS

In QGIS, vertices refer to the individual points that make up a polyline or polygon feature.
To extract vertices from a polyline or polygon feature in QGIS, you can use the "Extract Vertices" tool. Here are the steps:
1. Load your polyline or polygon layer into QGIS.
2. Select the layer in the Layers panel.
3. Go to the "Vector" menu and select "Geometry Tools" to "Extract Vertices".
4. In the "Extract Vertices" dialog box, choose the input layer and set the output layer name and file location.
5. Choose whether you want to create a separate point layer for the vertices or add the vertices to the existing layer as a new attribute.
6. Click "Run" to extract the vertices.
Once you have extracted the vertices, you can style and analyze them like any other point layer in QGIS.
Extracting vertices refers to the process of identifying and extracting the individual points that make up a line or polygon shape. In geographic information systems (GIS) and computeraided design (CAD) software, extracting vertices is a common operation used to analyze, modify, and visualize geometric features.
Vertices are the individual points that define the shape of a polyline or polygon. Each vertex represents a specific location in space and has an associated set of coordinates that identify its position. By extracting vertices, you can create new point features that represent the vertices themselves or use the extracted vertices to perform geometric calculations, such as measuring the length of a line or the area of a polygon.
In GIS software, such as QGIS or ArcGIS, there are tools specifically designed to extract vertices from vector data layers. These tools enable you to extract vertices from a selected feature or set of features and save the extracted vertices as a new layer or attribute table.
To display latitude and longitude coordinates for a point layer in QGIS using the field calculator, you can use the following steps:
1. Open the attribute table for the point layer by rightclicking on the layer in the Layers panel and selecting "Open Attribute Table".
2. Click on the "Open field calculator" button (abacus icon) at the top of the attribute table.
3. Create a new field by clicking on the "Create a new field" button.
4. In the "Create a new field" dialog box, give the field a name (e.g., "Latitude" or "Longitude"), set the field type to "Decimal number (real)", and set the field length and precision as appropriate.
5. In the "Expression" box, enter the following expression, replacing "Longitude" or "Latitude" with the appropriate field name:
* To display the longitude value: `x( $geometry )`
* To display the latitude value: `y( $geometry )`
6. Click "OK" to close the dialog box and create the new field.
The new field will now display the latitude or longitude values for each point feature in the layer. Note that the coordinates will be in the same CRS as the layer, so if you want to display the coordinates in a different CRS, you will need to first reproject the layer to that CRS.