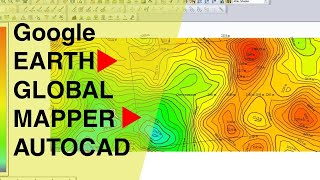
How to Get Contours from Global Mapper | Generate Contours from DEM using Global Mapper

To generate contours from a Digital Elevation Model (DEM) using Global Mapper (GM), you can follow these steps:
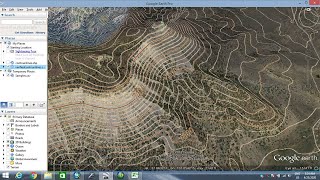
Open your DEM file:
Launch Global Mapper.
Open the DEM file you want to generate contours from by going to File Open Data File(s) or by using the draganddrop method.
View the DEM:
Make sure you have the DEM displayed in the main view.
Generate Contours:
Go to the Analysis menu at the top of the Global Mapper interface.
Select "Generate Contours":
In the "Analysis" menu, you will find the "Generate Contours" option. Click on it to open the contour generation dialog.
Configure Contour Parameters:
In the "Generate Contours" dialog, you'll need to configure several parameters:
a. Input Data:
Ensure that the "Elevation Grid" is set to your DEM file.
b. Contour Settings:
Set the desired contour interval. This determines the vertical spacing between contour lines.
Optionally, adjust the "Contour Interval Multiplier" if you want to modify the default contour interval as explained in the previous response.
c. Output Options:
Choose where you want to save the contour data. You can save it as a new file or add it as a layer to your current workspace.
d. Display Options (optional):
Configure how the contour lines will be displayed on the map, including line style, label settings, and more.
Generate Contours:
After configuring the parameters to your liking, click the "OK" button to start the contour generation process.
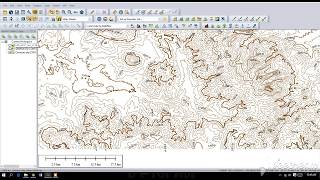
View Contours:
Once the process is complete, you should see the contour lines overlaid on top of your DEM in the Global Mapper map view.