How to knit the purl stitch for beginners

A step by step tutorial on how to knit the purl stitch for beginners the continental way
►►► VIEW THE FULL BLOG POST https://nimbleneedles.com/stitches/h...
After you learned to cast on, to knit the knit stitch and to cast off, you will want to learn another important knitting technique: The purl stitch.
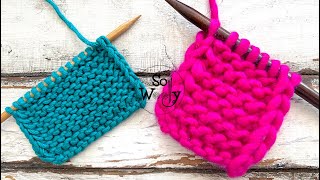
If you can combine the knit stitch and the purl stitch, you can create a sheer endless number of beautiful patterns like the stockinette stitch or the rib stitch in all its many variations.
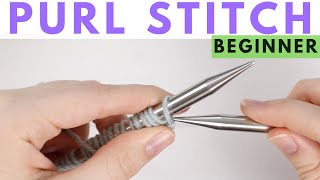
Purling is just as easy as knitting the only difference: You have to hold the working yarn in front of your work and not in the back. Also, you have to insert the needles from right to left into the stitch on your left needle. Then you have to wrap the working yarn around your right needle counterclockwise, pull it through and slip the stitch.
Use your middle finger to guide the stitch through the needle to increase knitting speed, in case you are still struggling a bit with the purl stitch.
Purl stitches will appear with a little loop around their base. But here is the thing: If you turn your work, purl stitches will appear like knit stitches (and vice versa). And this is the key to a lot of knitting patterns: If you want the right side of your work to only show knit stitches, then you have to purl these knit stitches in every return row. That way, you will only see purl stitches on the backside.
So, I'm sure you are a knitting beginner or wanted to find out all about the continental purl stitch
I hope I was able to show you how to knit this second knitting stitch.
Make sure to subscribe my channel if you enjoyed this video.
Visit my website for a free knitting school: https://nimbleneedles.com/learntok...
And follow me on Facebook so we can stay in touch: / nimbleneedlez


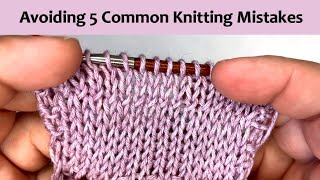
![10 easy ways to improve purling [slowmotion masterclass]](https://i.ytimg.com/vi/tJvXIxNz4XM/mqdefault.jpg)