How to Reset Check Engine in a Toyota Landcruiser

How to Reset a Toyota Check Engine Light & 4LO blinking.
Battery Disconnecting Method
The battery disconnecting technique method, and can be done by following these steps…
Use a wrench to remove the positive and negative cables.
Drain any remaining electricity. Press and hold the car horn for about 30 seconds to drain any electricity from the vehicle’s capacitor.
Wait to reconnect the battery. You’ll want to wait about 10minutes for the error codes to be deleted and the engine light to turn off. Once that’s done, you can go ahead and reinstall the car battery cables.
Other method is using a Scan Tool
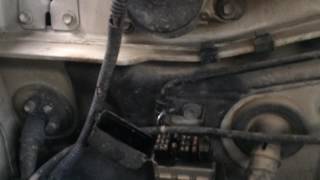
Connect the scan tool to the onboard diagnostic connector. This is found under the steering column. Make sure the ignition is switched to ON and that all the accessories in the vehicle are turned off.
Press the READ button on the scan tool, and look for any error codes.
Press the ERASE button on the tool to remove the error code. The check engine light will then turn off.
It’s important to note that the above methods aren’t foolproof. If there’s an issue with your Toyota, then the check engine light will come back on. If that’s the case, the only way to reset the check engine light is to get the problem that’s triggering the light fixed.
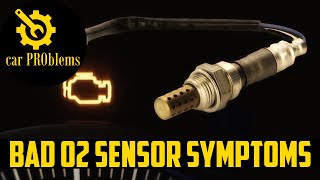
Bring your Toyota to a mechanic, who will accurately determine why the check engine light is coming on in the first place. It could be as simple as the gas cap is loose, damaged, or missing. The oxygen sensor may need to be replaced. Or, your car may need new spark plugs or plug wires.
Whatever the issue may be, once it gets resolved, the check engine light will go off and stay off.
If Resetting Your Check Engine Light Doesn’t Work
Have your car scheduled for a service.