How to Take an Open Tray Implant Impression

In this video we give you some useful information for taking an open tray implant impression.
Open tray impressions are the type that require a hole in the impression tray which gives access to unscrew the coping. This allows the impression coping to stay in the tray when the impression is pulled from the mouth.
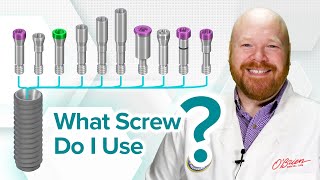
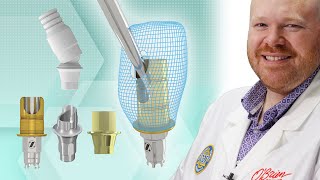
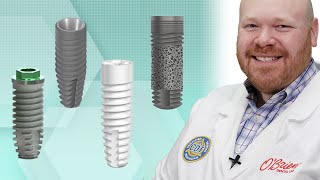
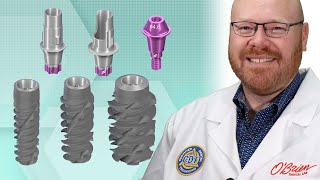
In order to take the impression you will need an open tray impression coping which is also known as a direct transfer or pickup coping. It's important that you only use an impression coping that is designed for the open tray technique to avoid an inaccurate impression.
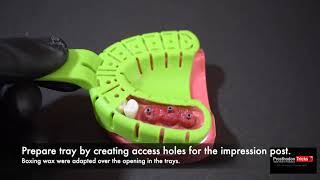
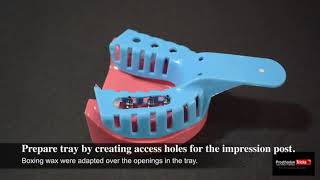
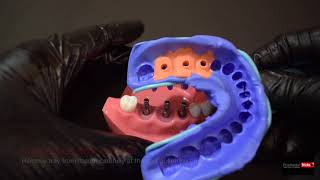
The other thing you'll need is a tray with a hole in it at the site of the implant. Your lab can make you a custom tray with the hole already in place or you can take a stock tray and create the hole with a grinding bur. If you're going to create the hole in a stock tray, it may be easiest to determine the correct location of the hole after you have placed the impression coping.
Once you remove the healing abutment, you'll attach the transfer coping to the implant. This can be done by inserting the coping in to the tissue until you hit resistance from the implant interface. Then, slowly rotate the coping while applying very slight pressure so that when rotational alignment is achieved, the transfer coping will seat completely to the implant.
The impression coping screw can be hand torqued and a torque driver isn't necessary. When you're torqueing in the screw you shouldn't feel any resistance. If you do feel resistance, there is good chance that the impression coping is not completely seated on one side and therefore the threads of the screw aren’t completely lined up with the internal threads of the implant.
Once you have verified that the impression coping is fully seated, you're ready to prepare the tray. If you're using a stock tray, place the tray in the mouth to see where the impression coping is in relation to the tray. Then, remove the tray from the mouth and grind out the hole in that location. After you have created the hole, place the tray back in the mouth to make sure the hole was created in the correct location. Depending on the length of the impression coping, it may not actually stick through the tray. The important thing is that the screw can be easily accessed and removed through that hole. If needed, make some additional adjustments to the tray to ensure the impression coping or the impression coping screw will fit passively through the hole.
This information is applicable to most implant systems including Nobel Biocare, Straumann, ZimVie (Zimmer Biomet), Dentsply Astra, BioHorizons, and Implant Direct.
Alex Rugh, CDT
O'Brien Dental Lab
www.obriendentallab.com