How to use Chalk Paint and Decorative Wax to Update Old Furniture

Soooo, this week, we had to do a quick project swap at the last minute! We gave some old furniture an update with some Chalk Paint and Decorative Wax.
It's almost Christmas and we have family coming into town, they put a Facebook post out there for a place to stay while they were in town. I watched as others said their rooms were full but had a couch, so I graciously offered up our guest room. But, guess what?! We don't have a guest room! LOL! :) We do have what used to be a tiny babies room that's now a storage room but I've been wanting to turn it into a guest room.... so I talked Garrett into going furniture shopping with me! Leaving the furniture store realizing it was a bit expensive to buy a new bedroom suit so close to Christmas. As we were exiting the parking lot we saw a sign for a Bazaar, The Market Bazaar! Garrett was all in for checking out what this crazy place might have to offer. While in there, we found this really nice sold old oak bedroom set! It was perfect, just needed some new life brought into it! We picked up the set for $400 and added some Rustoleum Chalk Paint in Aged Gray. We then added some Behr Antique Wax and really brought some new life and sparkle to a really solid, but dated looking bedroom set! It turned out great! It really looks beautiful and now still has tons of life left in it!
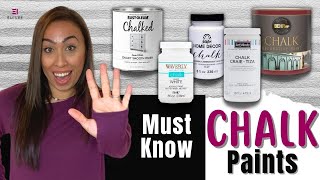
Stuff We Used:
Chalked Aged Gray Ultra Matte: https://www.homedepot.com/p/RustOleu...
Clear Interior Chalk Decorative Wax: https://www.homedepot.com/p/BEHR8oz...
Dark Interior Chalk Decorative Wax: https://www.homedepot.com/p/BEHR8oz...
Choose a good place to paint your piece. Protect the area with a drop cloth. Turn your can of chalk paint upside down, so that the pigments start to mix. Use the damp cloth to wipe off any dust or dirt on your furniture. Shake and then stir your paint. Start painting your piece with a good paintbrush. Chalk paint dries very quickly, and you should be able to tell right away if it is going to need a 2nd coat. If so, apply 2nd coat as soon as the 1st coat is dry.
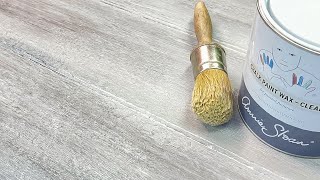
After the paint is dry, begin applying the clear wax in small sections, using the drapery lining cloth. Apply in circular motions, starting at the edge furthest from you. Wipe off excess wax, using a straight wiping motion. There is no dry time for wax, so you can begin distressing as soon as you are done waxing.
We used 120 grit sandpaper and sand the places on the furniture where it would naturally get wear and tear...the edges, the legs, any scrollwork, etc. Stand back and look at your piece to make sure you are happy with the level of distressing.
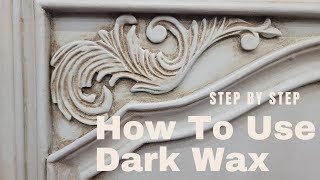
Now it is time to apply the dark wax. Use the same method as the clear wax....work in small areas, using circular motions and finish with straight wipes. I finish the piece by applying one last coat of clear wax on the top if it is a table or some other piece that will get lots of use.
We love to Do It Ourselves. You love to Do It Yourself. Let's Do It Together. New DIY Videos Every Week!
For more details visit: https://www.kandgmakeit.com/'>https://www.kandgmakeit.com/
Follow us on social:
Instagram: / kandgmakeit
Facebook: / kandgmakeit
Visit our website:
https://www.kandgmakeit.com/'>https://www.kandgmakeit.com/
\\\\\ MUSIC \\\\\
■ ES_Khandi Ooyy
FYI: We are not professionals, and we don’t claim to be. This is what we found worked for our project. Yours may need a little different approach. We have just enough woodworking skill to make some basic furniture. Safety first!
FTC Disclaimer: This is not a sponsored video. All opinions are genuinely our own. This post may contain affiliate links and we earn a small commission if you make a purchase after clicking on my links. It doesn't cost you any extra. Thank you for your continued support to keep Making It!