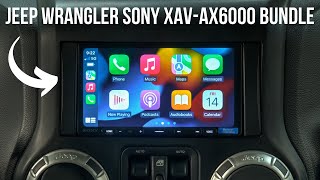
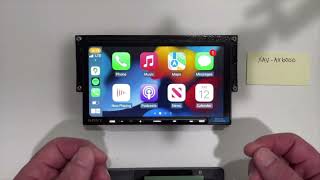
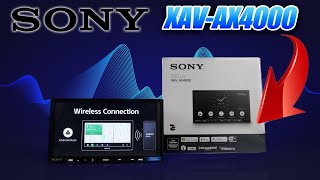
Jeep Wrangler SONY XAV-AX4000 Head Unit Install EP 56

In this video, I install a Sony XAVAX4000 head unit in my Jeep Wrangler. I will walk you through how I went about installing it and my review of the head unit.
Why I Upgraded
I really like the ability to use Google Maps. Less on my phone to use others necessary like the Curt Brake Controller app.
Larger UI strains my eyes less. I can go longer and more comfortably.
Gauges allow me to see important information on the Jeep.
Sometimes it begins to overheat when towing uphill or too much.
Tire pressure is important
I think it also shows any issues on the dashboard, which would definitely be helpful.
Phone no longer heats up and turns off. I have Pixel 7 pro and still turns off. Not good sometimes
Accessories and Cost and Savings (DIY vs Professional) and Ancillary Benefits
Sony XAVAX4000 ($448.99): https://www.crutchfield.com/SGkmAMZR...
iDatalink Maestro RR Interface Module ($159.99): https://www.crutchfield.com/p_794ADSM...
Wiring Harness ($39.99): https://www.crutchfield.com/SPI3uBuC...
Metra Dash Kit ($12.99): https://www.crutchfield.com/p_1209565...
Maestro Head Unit Adapter (Optional $9.99):
https://www.crutchfield.com/p_794HUSO...
Flash Maestro Drive
Maestro Website: https://www.idatalinkmaestro.com/en
Desktop Application: https://www.weblinkupdater.com/weblin...
Timestamps:
0:00 Sony XAVAX4000
0:34 OBD Installation
2:42 Flashing the Maestro Module
4:30 Solder Seal the Wiring
6:24 Navigation Installation
7:27 Microphone Installation
10:18 Test Driving
10:42 Savings Analysis