Making a Map using ArcGIS Pro

In this tutorial, you will learn how to make a professional looking map using ArcGIS Pro.
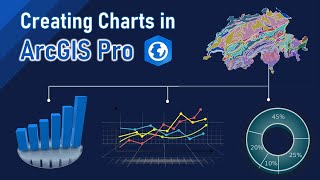
ArcGIS Pro stands as a premier tool for making detailed and visually stunning maps, catering to a diverse array of needs across industries. Its robust capabilities, intuitive interface, and comprehensive suite of mapping tools make it indispensable for cartographers and GIS professionals alike. With ArcGIS Pro, users can create a plethora of maps, ranging from basic thematic maps to intricate, multilayered spatial analyses. Whether it's designing informative topographic maps, dynamic web maps, or even 3D visualizations, ArcGIS Pro offers unparalleled flexibility and precision.
When making a map with ArcGIS Pro, we would usually begin the process by importing spatial data layers, such as shapefiles or raster images, followed by configuring symbology, labeling, and layout design. The software's extensive geoprocessing tools further enable users to conduct spatial analyses, enriching their maps with valuable insights. Moreover, ArcGIS Pro's seamless integration with ArcGIS Online facilitates collaboration and sharing, empowering users to disseminate their maps effortlessly.
Here's the timeline:
00:00 Introduction to the data
02:10 Cleaning out the raw data
04:10 Symbology and styling
08:48 Displaying labels on the map
11:44 Adding in more data to the map
14:00 Insert map layout & select page size, orientation
15:27 Insert map frame
16:54 Adjusting the map position and size
19:37 Adding a secondary map (an extent indicator)
22:43 North arrow
23:12 Scale bar
24:55 Displaying a data table on the map layout
29:25 Adding a legend
36:20 Adding a main title
38:00 Displaying attribution data of ESRI basemaps
39:08 Exporting the map as a PDF or a JPEG
Download the data https://drive.google.com/drive/folder...