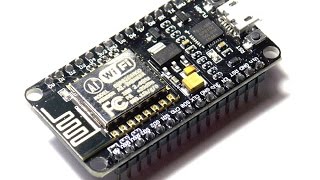
NodeMCU V3 ESP8266 - review connection and firmware flashing in ArduinoIDE

Overview of the NodeMCU V3 board on the ESP8266, connection and firmware in ArduinoIDE.
NodeMCU V3: http://ali.pub/4hqsal
ArduinoIDE: https://www.arduino.cc/en/main/software
CH340 driver: http://www.wch.cn/downloads/file/65.html
Driver CP2102:
WinXP, 7, 8: https://drive.google.com/file/d/1NvgS...
Win10: https://drive.google.com/file/d/140fB...
String for settings: http://arduino.esp8266.com/stable/pac...
In this review, I showed the main differences between NodeMCU V3 and Arduino, also showed the process of connecting the module to the computer and firmware in the Arduino IDE development environment.
Using the NodeMCU board with the ESP8266 microcontroller, you can create IoT devices for smart home. The module can actively interact with devices both on the local network and on the Internet. Thanks to this, the board can be used to create Internet alarms or toys controlled via a smartphone. You can take readings from any sensors and send the results to a remote server, or vice versa, receive information from the server and use it somehow, for example, get the current exchange rate or weather from the Internet and show this information on the display. The controller itself can act as a web server and process requests from connected clients.
To connect NodeMCU to a computer, you need to install the UART USB converter driver. There are several programs for programming the controller. I used the Arduino IDE since I already worked with Arduino earlier. In addition, most of the examples created for NodeMCU are written in the Arduino development environment.
Join the VK group: https://vk.com/buychinaproduct