Part 01 - Basics of Isometric workflow

Easy grids for Photoshop and Illustrator: https://riaanmarais.gumroad.com/l/tosxpk
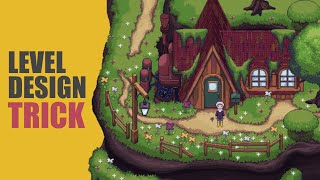
In part one, I will show you how to start the process of creating an isometric level. We will create the building blocks for a castle. I will show you how to set your camera in blender for quick and easy reference buildings which we will use to trace over in Photoshop.
The Blender camera needs to be set to orthographic.
Set the camera's transform rotations to:
X 60 degrees
Y 0 degrees
Z 45 degrees
I took a screenshot of the scene in Blender, but you can export a render.
Then I show you how to use the 3D image to draw your isometric assets.
In upcoming tutorials, we will add more building assets and other objects like carts, benches and whatever was used in medieval times.
0:00 Intro
0:30 Blender camera settings
4:00 Import the 3D image into Photoshop.
4:30 Working nondestructively.
5:42 Use adjustment fill layers
6:10 Duplicate as much as you can
9:14 Adding colors
11:33 Duplicate
11:42 Drawing straight on
13:12 Add colour and shading to the wall
19:10 Duplicate wall and change lighting on it
21:34 Create the floor
28:50 Create the arched doorway
29:57 Transform the door to fit an isometric view
31:40 Colouring the door
32:30 Duplicate the door and adjust different lighting
34:08 Have fun creating a scene with the assets
Website:
https://illustratorgurus.co.za/
https://illustratorgurus.co.za/?page_...
Lighting a scene in Blender: • Lighting an ISOscene in Blender