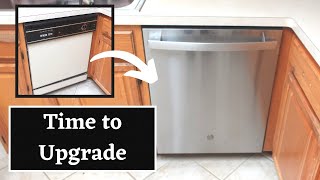
Remove and Replace Your Old Dishwasher - EASY!

When it comes time to replace your old automatic dishwasher don’t fret! It’s actually a pretty easy process with a minimum of tools. We’ll show you how!
#dishwasherrepair #dishwashers #appliancesforeveryhome
Buy your DFJ TShirt, Cap, or Coffee Mug at https://www.dirtfarmerjay.com/shop'>https://www.dirtfarmerjay.com/shop
When your automatic dishwasher breaks, it’s really inconvenient. You quickly realize how much you depend on that appliance when you need to switch to handwashed dishes for a while!
We’ve found that there is usually a waiting time to get the appliance as well. Apparently, gone are the days of going to the store, seeing the model you want, paying for it, and taking it home. So, you need to wait to have it delivered, and then in some cases, wait longer until the installation can be done.
While you can’t eliminate the delay in the delivery of the appliance, you can save both time and money by taking out your old dishwasher and replacing it with a new unit. This job isn’t that difficult and takes relatively few tools.
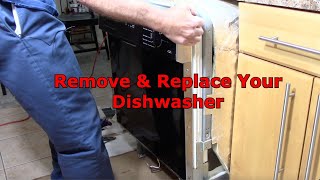
To remove the old one, unplug the power cord, turn off the water supply, disconnect the discharge hose from the food disposal unit, and take out the screws that are holding the unit in place under the counter. Then slide the unit out slowly to assure the power cable, discharge hose, and supply line are all trailing along with no snags. When the slack in the water supply line is taken up, you’ll need to unscrew it from the valve body under the dishwasher, usually located up front at the bottom under the toe kick.
Have a towel to drain the water from the supply line and the discharge hose. When they are empty, you can then disconnect the power cable if you are going to reuse it. Then, you are ready to set the old dishwasher aside.
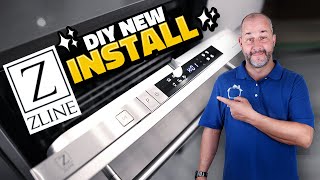
Now, reverse the steps. Route the water supply line under the new unit to the valve bottom and fasten using an adjustable wrench. Wire the power cable to the power connection box.
Now route the new discharge hose back through the cabinet side opening to the food disposal and attach it securely. IF A NEW DISPOSAL HAS BEEN INSTALLED, THE KNOCKOUT PLUG MUST BE REMOVED FOR THE WATER TO DRAIN.
Wiggle the new unit almost home in the space cavity, plug the unit in, and turn the water supply back on. Test the unit to make sure it powers up correctly, water runs when the cycle begins, and that water drains through the discharge hose correctly.
If all is well, slide the unit completely into the space, using the top of the interior as a lifting and pushing surface. DO NOT USE THE FRONT DOOR to push the unit with your hands or knees, as it is likely you will dent the door.
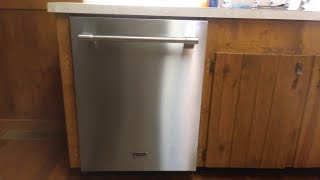
Be sure the unit is level, and then attach the appliance with screws through the mounting brackets and into the underside of the edge of the countertop.
You just saved yourself about $150 to $200. Congratulations! It really pays to JUST DO IT YOURSELF!
Buy your DFJ TShirt, Cap, or Coffee Mug at https://www.dirtfarmerjay.com/shop'>https://www.dirtfarmerjay.com/shop
Follow us on Social Media to know when we’re building projects or releasing new episodes!
Instagram: / dirtfarmerj
Facebook: / dirtfarmerjay
You can help support this channel by buying our merchandise or supporting us on Throne or Patreon
Patreon: / dirtfarmerjay