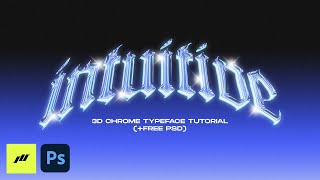
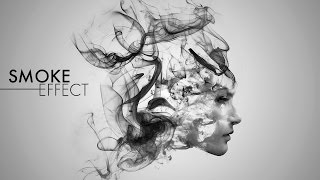
SMOKE MELTED TEXT EFFECT | PHOTOSHOP TUTORIAL 2021
In this short tutorial I explain how to create this smoke melted text effect.
You can download the full editable PSD here:
https://thazero.gumroad.com/l/SmokeMe...
Follow me on instagram:
/ thazerostudio
Song by Zast Ra
https://uppbeat.io/browse/artist/ra'>https://uppbeat.io/browse/artist/ra
https://uppbeat.io/
Music from Uppbeat (free for Creators!):
https://uppbeat.io/t/ra/zest
License code: F4NEIQ1UIN1BJX7Y
Music from Uppbeat (free for Creators!):
https://uppbeat.io/t/ra/zest
License code: TD5XJPR7KHOJV9SK
How to create:
First I created a 4500 x 3000, 300 dpi file.
With command or control I, I inverted the background making it black and added my text.
Then, I converted it to a Smart Object.
On the Smart Object I applied directional blur with an angle of 90 and a distance of 60.
Then I applied gaussian blur with a 15 pixel radius
Now, to make the distorted letters effect, I used liquify.
You can distort the text however you like.
You can download this complete and editable file on my gumroad page, link In description.
To give a final touch of distortion I added the wave effect, in my case I wanted a slight distortion, but you can also increase the values
We will now apply the color.
Double click on the Smart Object layer; open the layer style, select color overlay, with normal bland mode and a color of your choice.
Now, duplicate the layer 3 times with command or control J.
Turn off the first layer, on the third, apply the Guassian Blur effect with a radius of 35 or greater, this effect is used to create a halo behind the writing and make it more nuanced when we apply the grain.
Activate the first layer and open the layer style, apply gradient overlay and choose a gradient.
Apply satin with bland mode set to linear dodge and with a color similar to the gradient.
Finally apply Bevel & Emboss to give it a more threedimensional shape.
In the last step, I increased the saturation and fixed the satin effect to make it more homogeneous and shaded, then I added a grain filter and corrected some distorted parts of the text.
Here is the final result!
I hope I was helpful, don't forget to subscribe and leave a like. See you soon.