STEP BY STEP - HOW TO Acrylic Pour For Beginners! First step in learning Acrylic Pouring Recipe

Easy, No Measure, Acrylic Pouring Recipe & Acrylic Pour Painting An Easy way to mix your paints for consistent clear sharp colours and no mud. No scales or measurements needed! Followed by a painting showing the results.
Subscribe here for more / dirtyartist
Web www.dirtyartistofficial.com
Ive been asked many times to make a recipe video so here it is.
Like many other people, i work with approximate measurements and through the experience of knowing what works and what doesn't.
I don't have the patience or dominant left brain to sit there and weight paint.
After pouring for quite a while you learn to sense the right consistency of the paint, but
there are also some clear indicators that help make this possible and get consistent results for beginners too.
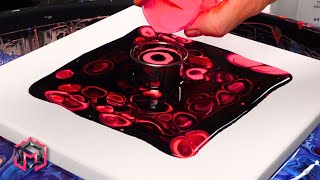
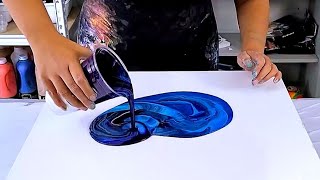
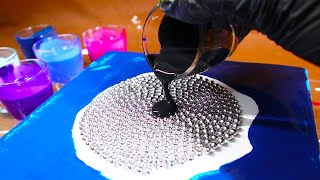
The Bounce Test:
In the video I point out the "bounce " of the paint when the paint bounces down and up on the pop stick this is a great indicator of an awesome consistency and stretchyness.
You don't want a small bounce or a drop (no bounce) this indicates the paint is too thick and it can separate or break down when stretching.
If its too thin it wont stretch up and down it will just break the stream.
The bounce should be from quite low to quite high see in video.
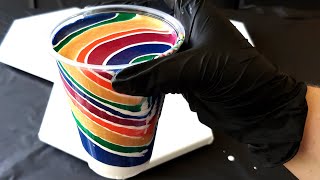
The "mound" when dripping the paint into the top of the cup... this should be visible but disappear quickly. (see video)
You don't want the paint to create a down dip in the surface of the cup this indicates your paint is too thin and you will likely create lots of mud and weak lines.
On the opposite end of the scale You may also see a fat mound on the top of the paint cup that takes a while to disappear, this indicates the paint is thick and it will not be as stretchy.
Thickness can be flexible but you don't want to be too thin.
RECIPE:
The "Recipe" is in the video, and i recommend the visuals... but as a basic guide:
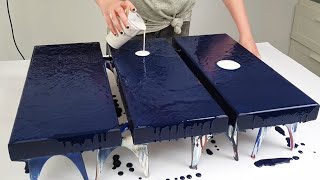
Start with 50/50 paint to Extender For the purposes of this video, an Extender is anything you use to extend your acrylic paint Floetrol, Pouring Medium, Owatrol etc
As you mix look for the "Bounce Test" and the "Mound", keep adding extender (bit by bit) until you get the Bounce and the mound right.
This can be done to any brands or colours. I suggest doing 1 cup first of a particular brand then you will have a greater idea of how much extender will be need for the other colours in that brand.
Keep in mind that some times transparent colours can need less extender than opaque colours as they tend to be thinner, but
If you put too much extender don't panic you can add more acrylic paint, if you put too much acrylic paint, don't panic, you can add more extender! Easy Fix!
In the end This recipe works out to be an approximate 1/3 acrylic to 2/3 floetrol + a squeeze of liquitex pouring medium.
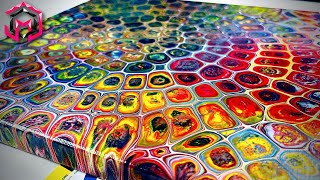
If you are wanting cells, or other effects there will be further No Measure Step by Step Videos for this coming up soon.
But this is like the foundation course of a Basic No Mud Recipe and we will build onto it from here.
Thanks for watching, leave suggestions or let me know what you think or want to see in the comments!!!
The canvas in this video is SOLD.
See art in the video you like?
For pre sale purchases email [email protected] for pre sales
Alternatively the art will be up on my website in the coming weeks.
Varnish is applied after the paintings cure.
If you enjoyed this video, please share. Its free and it helps support my art. Thank you.
Subscribing, Leaving a comment or thumbs up is also much appreciated!
***************************************
Check my Channel's "About" section for social media and contact links.
***************************************
#AcrylicPouringStepByStep #AcrylicPouringRecipe #AcrylicPouringForBeginners