Tech Tip: How To Replace an AR-15 Gas Key

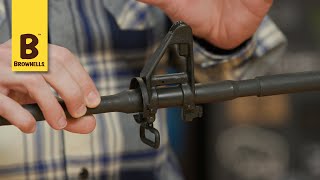
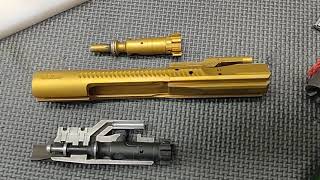
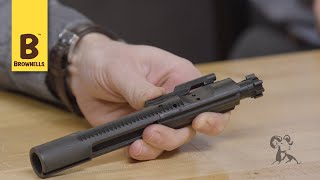
The AR15 platform is extremely robust, but as with any mechanical device, parts sometimes break and you have to replace them. Brownells Gun Tech™ Caleb Savant shows us how to replace the gas key on the AR15's boltcarrier group (BCG). The gas key sits atop the carrier and is the conduit that directs gas from the gas tube through the boltcarrier group to cycle the action. If the gas key is loose, you get a gas leak that can cause cycling problems and malfunctions. TECH TIP: If you're having cycling problems, before you replace or realign the gas block, check for a loose gas key first.
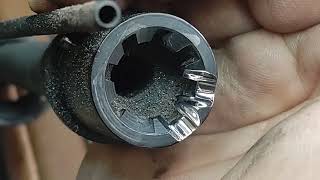
REMOVAL: The first step is to remove the old gas key from the carrier. Grab a driver with the correctsize bit to fit the gas key screws and loosen them. The screws should be staked, so it may take some effort to overcome the staking. If the gas key has been leaking, you'll see a lot of carbon crud under it and around the gas port in the top of the carrier. Cheaply made BCGs often have poor contact surfaces between the carrier and key and are prone to gas leakage. A highquality boltcarrier group is much better machined, fits better, and will last longer. You get what you pay for.
Get some steel wool and clean up the top of the carrier where the gas key sits. Degrease it with a good gun cleaner, such as BirchwoodCasey Gun Scrubber. Clean any debris or old threadlocker out of the screw holes.
KEYED UP: When you replace the gas key, ALWAYS replace the gas key screws, too. Make sure you get goodquality, Grade A screws. A lot of force comes to bear on the screws, and you don't want them shearing off. Use an India stone lubricated with a bit of oil to hone the underside of the gas key to make it completely flat so it'll make a good seal with the carrier. When you're done, the underside of the gas key should be completely shiny around the EDGES. Some nonshiny spots in the center of the underside are OK. Clean it thoroughly with degreaser.
CARRIED AWAY: Apply Loctite 638 retaining compound (not threadlocker!) to the underside of the gas key, doing your best to keep it out of the gas port. Position it on the carrier, lining up the screw holes in the key with the carrier's. Now, put a dab of oil on the threads of each of the new gas key screws, and screw them handtight into the carrier.
Grab your adjustable torque wrench and tighten both screws to 5058 in.lbs. Hit the inside of the gas key with a shot of canned air to blow out any Loctite 638 that might've oozed into the gas port.
STAKE IT LIKE A VAMPIRE: Staking the screws is easy when you use the Brownells Gas Key Staking Tool. The tool will cost you a bit, but it's a onceinalifetime investment. Apply a dab of grease to the threads of each screw to preserve thread life. Secure the carrier in the tool and hand tighten the staking screws. Make sure the pointy tips of the screws are centered over the gas key screws.
Clamp the tool in your bench vise. Put the correctsize bit in your driver and tighten the staking tool's screws. Look down through the top of the tool to watch the staking notches form. If you use an adjustable torque driver like the Fix It Sticks driver, you can see how much torque you applied to the first screw, so you'll have a good idea how much to apply to each of the three other screws. How much torque you'll need depends on the hardness of the gas key's steel and the type of finish on it. Once the staking notches are made, back out the staking tool's screws so you can remove the carrier from it.
That gas key is now "PROPERLY STAKED" and snugly (not snuggly!) fitted to the carrier with a leakfree gas seal. Isn't going to move anywhere.