VAN BUILD SERIES | VWD Window Installation

We hope you find this video helpful in guiding you through the window installation process!
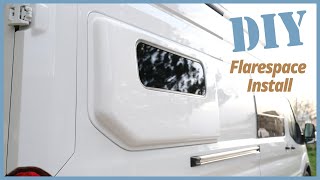
We chose to use the Fixed Passenger Slider Door Window and Fixed Rear Cargo Door Windows from Van Windows Direct. Other materials included:
Window Trim Lok
Automotive paint primer
Rustoleum white paint
Sika P2G Uerthane
VWD Urethane Primer
Window Securing Tape
Below are the steps we followed throughout the process:
1. Use AWL to transfer the outline of the cutout from the inside to the outside of the van
2. TRACE the shape of the cutout onto the outside of the van using sharpie (connect the awl dots)
3. TAPE along the perimeter of the cutout to protect the van’s paint when you jigsaw
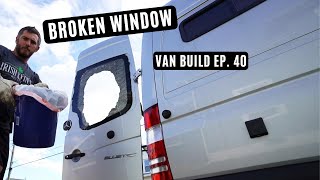
4. CUT out the window using a jig saw (be careful not to cut off the lock tab!!)
5. FILE down the raw edges
6. PRIME + PAINT (2 coats)
7. Tap in TRIMLOK along the inner lip of the cutout
8. CLEAN van surface
9. Paint on WINDOW PRIMER 1/2” from the cutout along the entire perimeter
10. Apply URETHANE ADHESIVE on the primer
11. PRESS window on and TAPE using window securing tape
12. CELEBRATE!!!
As always, please LIKE this video, SUBSCRIBE to our channel, and COMMENT below!
Follow us on Instagram for behind the scenes content: @thetriointransit
Thank you for your support!