Yamaha Star 650 Carburetor Test u0026 Adjustments - Floats TPS Heaters Solenoids PMS Leaks Part 1

Today begins the first in a two part series where we go into specific detain with regard to specific testing of the Star 650 carburetor and its components to ensure that it is working within operating parameters. This is not a rebuild video. I have made those already. This could be considered a post rebuild exercise to determine good working order before installation. Another thing to consider is the screws that had to be torn up in order to take the carb apart. The original screws are terrible!!!
The first task is a trip to Ace Hardware where the original screws will be swapped out for better quality hex screws for both the carb and the air box and associated housing. Though not exhaustive I came up with:
2X M4 .70x20
2X M4 .70x25
2X M4 .80x10
2X M4 .80x12
2X M4 .70x14
8x M4 .70x various
These are swapped out on the carbs, pipes and airbox before I continue.
All of the required parts and tools are gathered for this project before we begin, its better than stopping to hunt for stuff midtest. Amongst these would also be a rebuild kit.
The first test will be blowing air into the fuel line and turning the carbs over to see if it is blocked. A failure of this test would mean immediate attention to the float needles and or seats to resolve this issue. Though fine here we assume everything fails and replace everything later.
Next, the bowl is marked for the positions where the fuel level should be using the calipers and a razor blade to leave light marks as demonstrated. That would be 8mm below the line. and .5mm above and below that line.
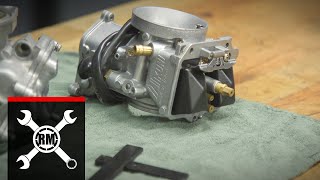
Its worth pointing out that the carbs are not level in the bike when the bike is level, they are cantered to the low side 13 degrees, so a structure is assembled to pitch the carbs 13 degrees for the level testing. This is critical. With the carbs in position we set up the second test which is the hose and funnel on a scaffold filled with gas to see if the level holds. This proves out the float needles as liquid tight.
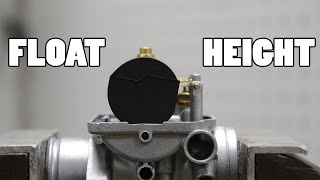
With that next test passed, we move to the float level hight test. using the translucent hose the bowl drain is opened to reveal the level within the carb. Mine are adjusted higher, but demonstrates how the position can be measured. I conduct this on both carbs. We can see the level on mine are the same on both.
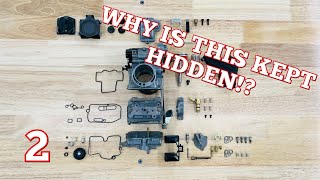
In the next video, the float adjustments will be done as well as all of the fixes, repairs and testing of the carbs to address all possible issues.